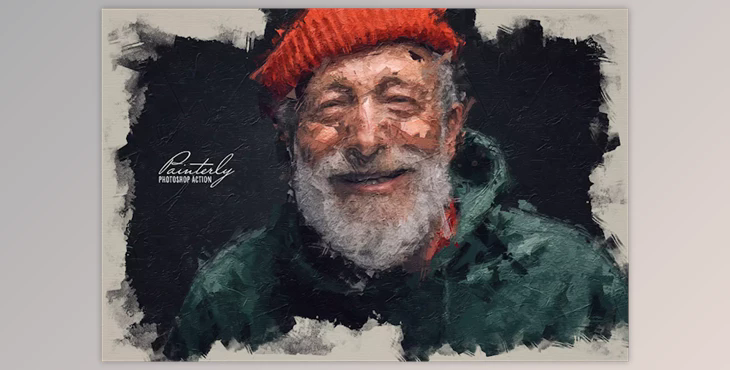
The Painterly action allows you to add custom texture layers to images, creating an impressive, realistic hand-painted appearance.
It is recommended to read the instructions and watch the tutorials to learn each step. The download contains a comprehensive guide for making use of the action, which has been tested on every version of Photoshop CC (and is compatible with any version of the language). The software is not verified for compatibility with previous versions of Photoshop older than Photoshop CC.
How to add custom texture layers to images?
You can use "Painterly – Photoshop Action Set".
Where can I download the product?
After subscription, You can download it for free from here.
Gfx plugin details of Painterly – Photoshop Action Set
The product is in Photoshop category , for more information about this post you can click the home page link in the sidebar.
Step 1 Installation of the Action
Second Step: Create Your Image
Choose an image that's well-lit and does not contain huge areas of black or white The action requires certain details in order to be successful. For example, it won't be effective when it's applied only to the gradient.
Choose the Brush tool and ensure that the brush tool is selected in the top options bar you can see the parameters as they are:
Choose your Art History Brush and make sure that the brush is in the upper options bar you can see the following parameters: the following:
Step 3 3. Start the Action
After the playback has finished after the playback has ended, you will see the text "Render Completed" will appear Click Continue the message to end the message.
The basic structure of layers is simple to grasp. There is an initial foundation (Paint Base), and over that are four-stroke groups that become more detailed, moving towards the top. This group of Paint FX then applies some textures over these painted layers. Borders as the name suggests, make borders resemble an incomplete painting. Additionally, Post FX gives a final finishing touch to color correction.
Because its mask channel is black the layer is completely obscured. Paint on the canvas using white paint to reduce the impact on areas of your photo that require to be more precisely detailed, for instance, the eyes of the subject or other elements that need to be at the center of your image.
Paint with black to create the illusion.
Make sure you select the mask channel during painting. The layer you are painting is smart and if you attempt to paint directly on it an error message will be displayed. If you see the error, select OK, then select the mask channel, and then continue painting.
In the case of the three layers with thickness, you can alter their opacity in order to alter their visibility. To create a strong impact of thickness, you can duplicate one of these layers by pressing Ctrl-J or command-J. Try playing around with different mixing modes that fall within the same class that are part of Overlay (Soft Light Hard Light, Soft Light, and Linear Light).
If there's a specific border combination that matches well with your image however, it's over an area that isn't clearly visible, choose the mask channel from this group Borders and draw a black outline on the area of the border you wish to eliminate. You can make use of one of three manual brushes to accomplish this task; they're one of the first ones in the Painterly brushes set.
It is important to note you will notice that Borders contains two different styles for layering, Bevel and emboss add an appearance of thickness to the entire painting area. Color Overlay is hidden by default. You can enable Color Overlay to change the size of the canvas color. Double-click this style of layer to alter the color.
Spotlight produces both the appearance of a light as well as a Vignette effect. Change the opacity parameter to regulate the intensity. The layer is created with Gradient Fill. Double-click the thumbnail to alter the properties. On the Gradient Fill panel, you can alter the location where the light source is located by moving it onto the canvas.
Modify the opacity and transparency that the Layer Contrast has to either increase or reduce the intensity that will be the result.
The layers Hue/Saturation and Levels are two easy adjustment layers that are easily edited by double-clicking the thumbnail.
The final two layers Color Tint and Color Tone can be utilized as well, each to give a tone or tint to the final result. Double-click on their thumbnails to alter the color and then use their transparency to reduce them when needed.
