Inset for Round Inset is a valuable tool for faces with 100 percent Original round corners.
Inset Tool built into Blender:
It is possible to bevel it beautifully after the inset.
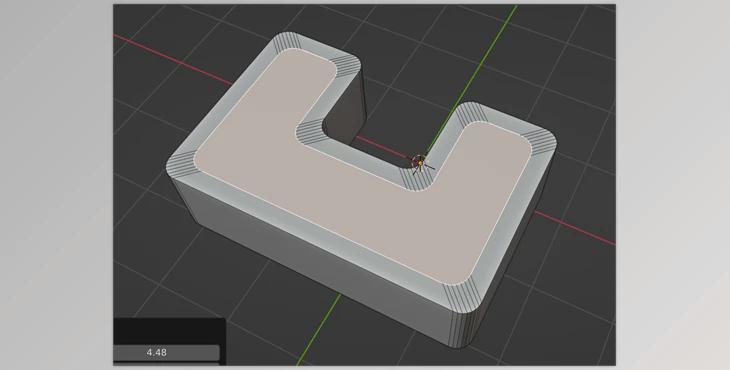
Round Inset works well with an odd shape.
You can specify the corners to be retained with a threshold (on the menu on the left-bottom). The tool will then inset the face to match the original corners.
It is also possible to use your Scaling setting to fine-tune the outcome. You can then apply an angle to create a nice circular surface.
New Changes:
Fixed a mistake in the installation
To use the tool, please switch to Blender's Edit mode, select a face, then right-click in the 3D viewport.
Choose "Round Inset" at the bottom of the pop-up context menu.
The tool will inset the selected face; then, you can change the settings in the Left-Bottom menu on the screen.
Inset Size: The amount to inset
Size Threshold: This is important. It defines the "corners" and "long edges."
The tool will keep the size of all corners and shrink the long edges. Please increase the threshold for the larger mesh to "cover" the corners.
The scale of corners: It scales the corners
Merge Vertices: Auto-merge the collapsed vertices into one
Merge Distance: The distance for merging. You can increase the distance for some remarkable results (e.g., merging nearby corners)
Stop Overlapping
Another key feature of this program is the ability to create insets without overlapping corners. It applies to any face. For faces that do not have round corners, you can use the tool and change the "Threshold" parameter to zero.
