The product is in the Photoshop category, for more information about this post you can click on the home page link in the sidebar.
To search for similar products to Light Rays Photoshop Brushes - kelvindesigns,
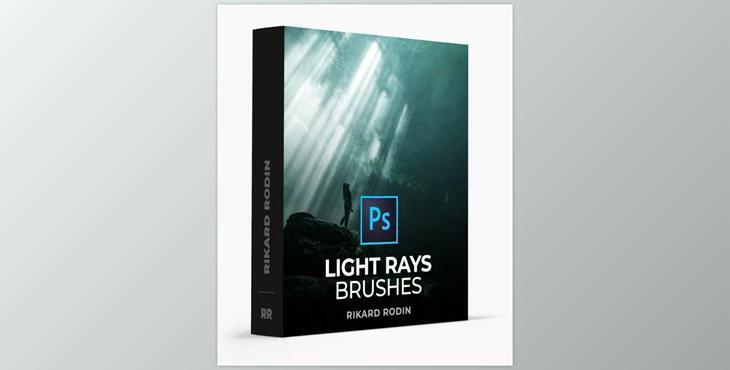
50 high-heeled overlay images Which You Can use to Transform the lighting in a picture. You will Have the Ability to conjure the disposition of mild Hitting dust sprinkled throughout the trees or one ray landing your subject.
With all these brushes, you will Have the Ability to brush at exactly the Effect you need and change any lighting source.
If you want the look of light beaming through a window, then Shining through smoke through threes, top-notch, in the side, you can come across all Of these in this package!
Downloading & Unzipping the Brushes
Step 1: Download the Brushes you purchased
Step 2: Scroll down and locate the brush package you purchased
Step 3: Once you have downloaded the le, navigate to the location you just downloaded it to, for example, the Desktop, (it will be a .zip le).
On the PC, right-click and select the option “Extract All…”, then click Next, and then Finish.
On Mac, double-click on the .zip le and it will extract the le to the same location you downloaded the .zip.
Step 4: Open Photoshop (it will look similar to this)
Step 5: Click the brushes menu in the top left.
Step 6: Click the gear icon in the brush palette then choose “Load Brushes” from the pop-out menu.
Step 7: This will open a window where you can select which brushes you want to load. Navigate to where you unzipped the brush le and choose the brushes you want to load, for example: “Photo Serge - Sky and Clouds Brushes.abr”. Click “Open” at the bottom right of the window.
Now the brushes are loaded and you can start to use them. To see the brushes you loaded scroll down in the brush menu
Step 8: (optional) I also recommend using the “Large List” view instead of thumbnails, so I can choose my brush based on name & picture, instead of just the picture. Click the gear icon and choose “Large List” from the pop-out menu
You can also make the brush window taller by clicking and dragging on the bottom right corner of the palette. Your brush palette would look something like this, making it easier to choose brushes quicker
Step 9: Open a photo and start brushing! I recommend creating a new layer for each brush used, so you can change the size, color, blending mode or add a blur later without altering your original photograph.
