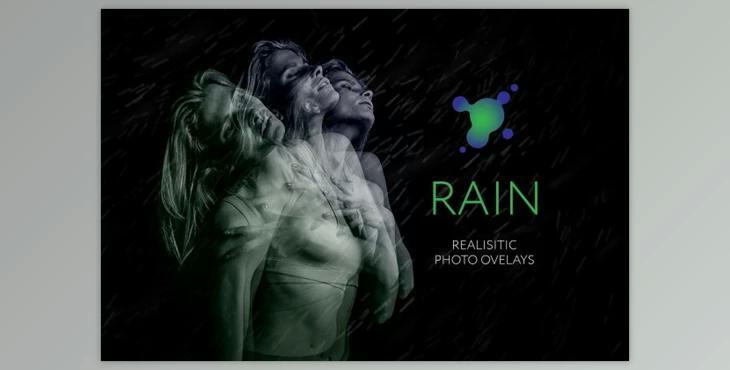
- 45 JPG files
- Width 5000
- High resolution ready for printing 300dpi
- Photoshop Action to Easy Apply
Complete purchase and present perfect pictures for customers!
Please Note
- Once you have completed downloading, the archive "036-PRO. 45. Rain Image Overlays.zip The file will be saved into the 'Downloads' folder or to the one you have selected.
- Unzip the archive to the folder. Don't be deterred by images that have an uncolored background. Screen Blend Mode allows users to erase the black background by showing only the objects within Photoshop.
- Open Photoshop, open an image that you intend to apply and follow the steps in the following steps.
INSTRUCTIONS
There are three ways for applying photo overlays. first using overlay actions (include) 2nd using the quickstart PSD tutorial (include only in the PRO version) 3rd - the standard Drag'n'Drop technique.
1ST Method: OVERLAYS Action
This is a more progressive method since it lets you easily apply overlays to any directory, and even with other retailers. When setting your action, you are able to make your hotkey to F3 (for instance) to ensure that with one press you initiate this action.
- Double-click the 'Overlay Actions .atn file to open it in Photoshop. After installation, you can access the Actions panel in Photoshop by clicking 'Window Actions'. There are two actions available: JPEG and PNG Overlays. The distinction between Overlay Action JPEG and Overlay Action PNG is that JPEG uses the Screen Blend Mode.
- Search for "Overlays Action Select 'Overlays Action' and then press Play any action you require.
- The Photoshop dialog box appears and asks you to choose the image. Select 'Continue', then locate the folder you extracted and choose the picture you like. The image will be immediately uploaded into the Photoshop image file, where it is displayed.
- Reflect, rotate, or scale the overlay, if you wish.
- Enter the Cmd (Ctrl) and enter, and the process will result in the layer mask as well as two adjustments layers. If you're required, apply a black brush on the layer mask in order to cover the image if needed, and then within the adjustment layers, alter the Levels or color to make sure the overlay appears suitable for the image.
- Save the image, and then show it to your customers. They will be delighted by the outcome
2nd MODE 2nd Way: Quickstart PSD COURSE
This technique lets you work with a photoshop image in which you can choose the overlay you prefer which makes it visible. This is useful because you can view it on the thumbnails for layers in the image but it's not ideal because in certain variations in Photoshop the file might not be able to open correctly. This is an optional feature and is included as is.
3RD Method 3RD WAY: DRAGG'N'DROP
3.1 Drag out of the folder any image you want to place within the Photoshop file. If you have images with black backgrounds, use the Blend Mode. To change the blend setting by double-clicking on the layer and the style window of the layer will be displayed. Select the desired blend mode, then move on through the steps. If overlays have transparent backgrounds it is not necessary to perform anything. 3.2 Scale and transform, reduce the opacity or even add the Layer Mask and paint on your Overlay, if needed.
A BIT MORE
- Compatible with all programs that use layers (Photoshop CS5+, Photoshop Elements, Paint Shop Pro, and more.)
- Not for further distribution
- This is an electronic download. The physical item will not be delivered
- Copyright(r) Notice Copyright(r) Notice: All copyrights and trademarks of trademarked concepts and images utilized belong to the respective owners. They are not sold and are given to you free of charge. This doesn't constitute an official item and I don't claim ownership of the trademarked ideas I use.
