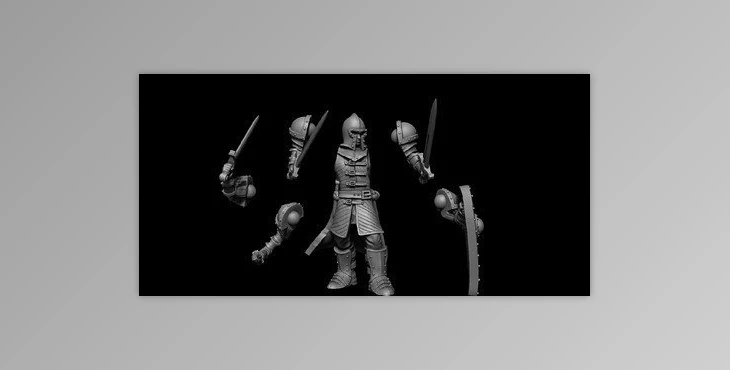
Keying For Modular 3D Printable Miniatures In Zbrush: Following many requests, we've developed a step-by-step instructional walkthrough to help you understand how to create modular 3D-printed Miniatures.
The course is divided into four phases:
This course assumes you've completed one of our earlier courses or are familiar with the basic concepts of Zbrush. Unlike our beginner classes geared towards beginners, this course does not spend the time explaining the steps to set up and use the Zbrush interface or explain ordinary brushes or brushes, etc. We also assume you know how to transfer a model from Zbrush onto a 3D printer. (this procedure is covered in our previous tutorials)
We will supply the model used during the course. However, the model you have created that you have created yourself is also suggested.
In contrast to our previous courses, which were focused on students replicating the steps Josh does in the videos, this class seeks to introduce the principles and practice of designing modular models and keys. This class aims to train you to use our workflow for any of your models and avoid the traps we had fallen into when we stumbled across this process via trial and trial.
As a result, I strongly suggest watching every lesson but not following the instructor to absorb the ideas fully. Once you're sure, you can end the concepts you've been taught, revisit them, then apply the concthem models or to the model we provided.
At the end of this course, you can design your 3D-printed modular miniatures with professional-grade flexible connections (keys). (this is the same method we employ on our modular minis.)
Who should this course be intended for:
