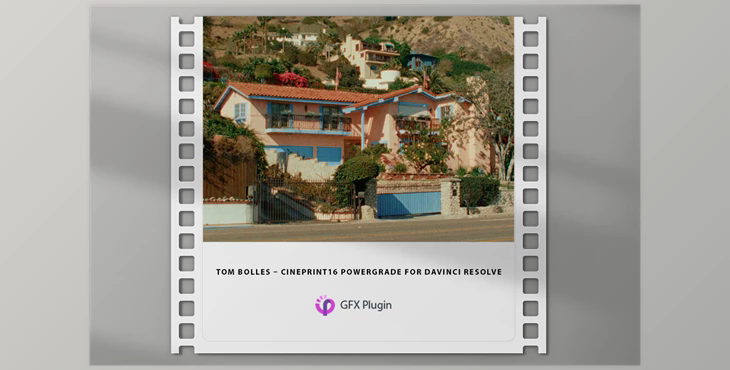

CinePrint16 is a film emulator PowerGrade to Davinci Resolve.
Create a realistic 8mm, 16mm, or 35mm look with the built-in Cineon Negative, Fuji/Kodak printing film, and classic 1960s film looks.
The product is in the LUTS category, for more information about this post you can click on the home page link in the sidebar.
To search for similar products to Tom Bolles – Cineprint16 Powergrade for Davinci Resolve,
The digital download includes versions 1 and 2 of PowerGrade, Film Border PNG images, as well as an in-depth User's Guide in PDF.
CinePrint 16 is a PowerGrade for Davinci Resolve that mimics the aesthetic qualities of analog film.
The PowerGrade format makes CinePrint 16 a versatile, customizable, and camera-agnostic tool for cinematic look creation.
It is important to note that CinePrint 16 is not a technical transform or a one-to-one recreation of any existing film stock. Instead, it is a look creation tool that was developed to taste with the goal of being both filmic and customizable so that users can create their unique film emulations.
The CinePrint 16-node tree is a great resource for colorists looking to design and explore custom celluloid film looks.
Installation:
The download is a compressed .zip file containing the User Guide .pdf, the .drx PowerGrade, and the .dpx thumbnail.
Node Tree Overview
The CinePrint 16-node tree can be conceptually divided into three sections:
The order of operations within the pipeline is certainly important, as it has an effect on the final look. While this guide contains suggestions for working with this pipeline, it is useful to remember that there are no hard rules. Ultimately, you can do whatever you want with the power grade, and the only thing that matters is that you’re happy with the final look!
What is Cineprint16 Powergrade for Davinci Resolve
"Cineprint16 Powergrade" for DaVinci Resolve might be a collection of color grading adjustments specifically designed to mimic the visual characteristics of a 16mm film stock, such as its color tones, contrast, and grain. This Powergrade could offer a quick and efficient way to apply this particular film look to your digital footage within the software.